Configuring Carrier Connect users and assigning roles

You must have the role of I_CLIENTADMIN and know the user’s name, ID, and email address.
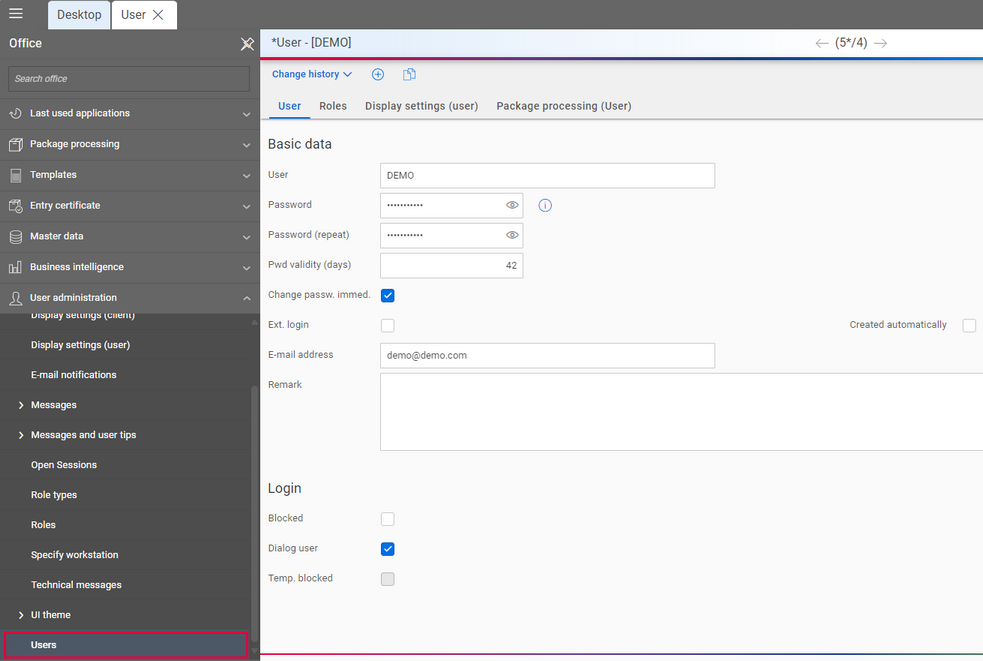
- From the Office, go to User administration – Users to create users. Click New.
- On the User sheet, enter all the desired information.
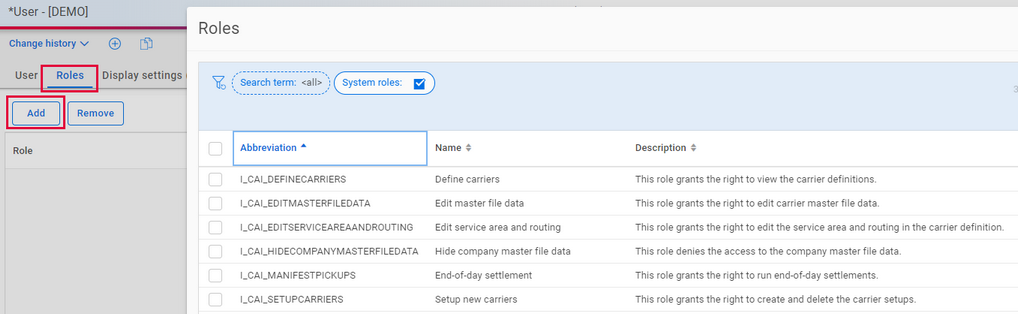
- If you want to add roles, switch to the Roles sheet and click Add. Here you can select from among the following roles:
– I_CLIENTADMIN: The role grants administrative access to client-specific settings such as user administration. This role is displayed only if you check the System roles box.
– I_CAI_MANIFESTPICKUPS: This role lets you close pickups (end-of-day settlements), including re-uploading EDI messages.
– I_CAI_EDITMASTERFILEDATA: This role lets you edit master data in the carrier configuration.
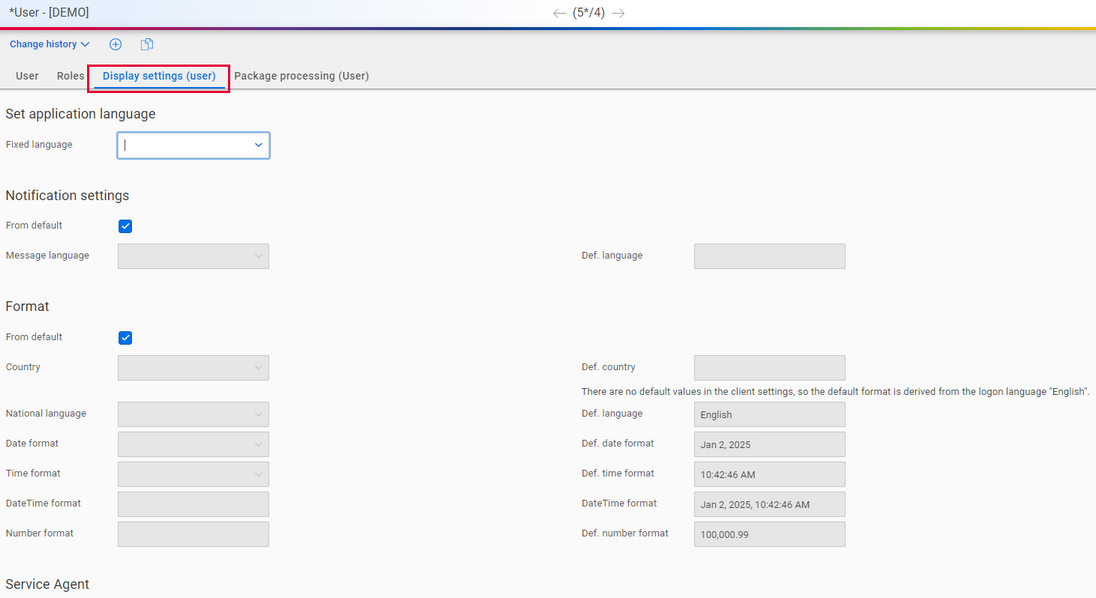
– I_CAI_HIDECOMPANYMASTERFILEDATA: This role blocks access to the companies master data. - On the Display settings (user) sheet, you can specify further settings, such as application language or notification settings.
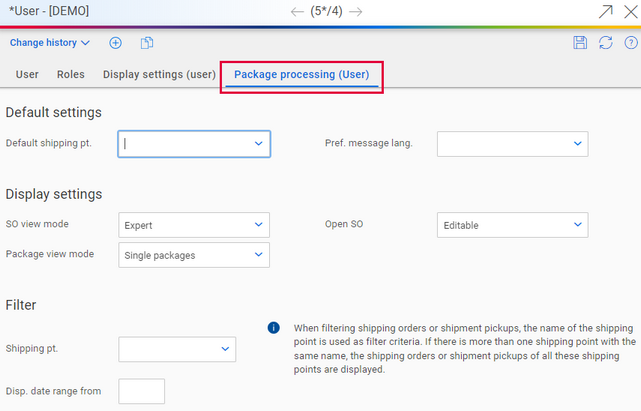
- The Package processing (User) sheet lets you configure additional user settings:
– Assign a default shipping point: Default settings – Default shipping pt.
– Assign a preferred language: Default settings – Pref. message lang.
– Modify the shipping order view: Display settings – SO view mode
– Modify the package view: Display settings – Package view mode
– Offer the option to filter by a specific shipping point: Filter – Shipping pt.
– Offer the option to filter by a specific data range: Filter – Disp. date range from
– Indicate whether a shipping order should be opened in read-only mode: Display settings – Open SO - Click Save & close to save your specifications.

You can only use the “Forgot password?” function during login if you fill in the Email address.
If you don’t assign any of these roles, the new user is automatically assigned the role of I_EVERYONE.
An overview of the general, cross-product roles can be found in the Help Center article Roles in your AEB product.
Finish by sending the login data and URL for the Carrier Connect app to the user.